Have you ever wanted to give an old furniture piece a playful twist? Combining milk paint with acrylic paint can be the most effective way to do just that.
Milk paint is an ancient, organic paint made with natural ingredients that give your project great depth and texture. In contrast, acrylic paints are fast-drying and water-resistant when dry, providing a layer of vibrant colors to really make things pop. Acrylic paint can be used for a variety of purposes. You can use acrylic paint as finger paint. But in what manner can you mix milk paint with acrylic paint?
Throughout this article, we’ll walk you through the steps for easily mixing milk paint with acrylic paint so you can breathe new life into any piece of furniture. So let’s get started.
Steps On How Can You Mix Milk Paint with Acrylic Paint
Milk and acrylic paint are two different types of paint that can be mixed to create unique color combinations and effects. Here are eight steps on how to mix milk paint with acrylic paint:
Step 01: Choosing Colors
When mixing milk paint and acrylics, choosing colors that work well together and complement each other is essential. Consider the overall impact of the painting you are creating and the color palette you are working with.
If you are unsure what colors to use, consider consulting a color wheel or chart for inspiration. Also, look at other pieces of artwork that combine milk paint and acrylics to inform your choices.
Step 02: Gather Materials
Before beginning to mix milk paint and acrylics, ensure you have all the necessary materials. This includes a palette, knife, measuring cup, mixing container, and water.
The palette will mix the paint, while the palette knife will help scrape off excess paint from the surface once it is dry. Use measuring cups to measure out specific amounts of milk paint. A mixing container will be necessary for combining all the ingredients into one cohesive mixture.
Finally, water can be added in small amounts if needed to ensure enough consistency within the mixture for optimal coverage when applied onto surfaces.
Step 03: Measure Milk Paint
Once you’ve gathered all your materials and chosen your colors, it’s time to measure out how much milk paint you need by pouring it into a measuring cup. Milk paint comes in powdered form, so make sure you add enough water according to the instructions on the package before beginning to mix it with acrylics.
Step 4: Mix Milk Paint
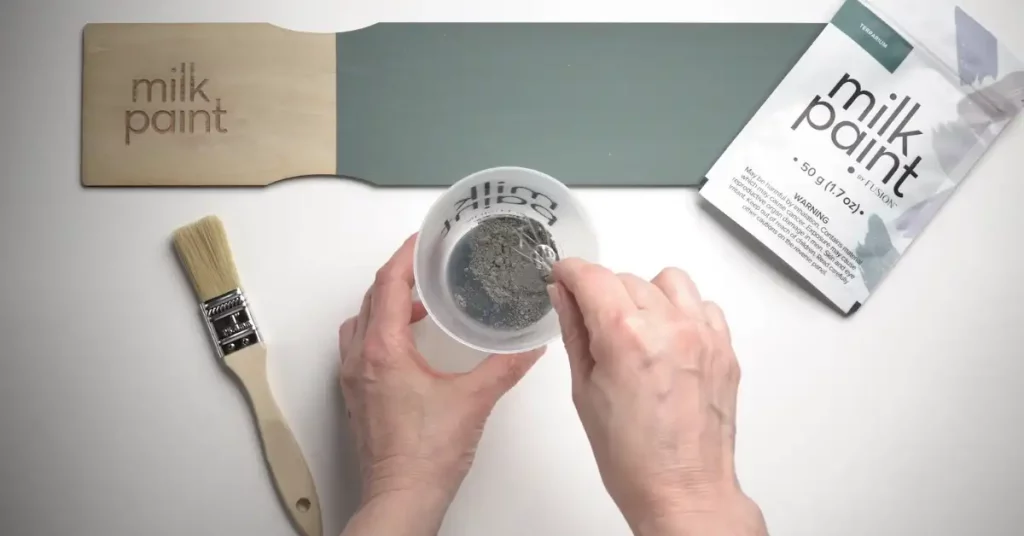
Once all of the individual ingredients, such as pigment and resins, have been measured out accurately and placed into a container or palette, they must be mixed together until the mixture becomes one cohesive substance without the presence of any clumps of powder within it.
And use a stirring motion that ensures a uniform blend between both paints so they dry evenly and can be applied easily. This will also allow for a smooth application process with minimal cracking or bubbling occurring afterward.
Step 05: Mix the Acrylic Paint

Start by squeezing a small amount of acrylic paint onto a palette or mixing container. Use either a palette knife or a stir stick to mix the paint until it is smooth and even. Keep scraping off any accumulations from the sides of the container as you go. This will ensure that your resulting mixture is properly blended and lumped-free.
Step 06: Combine the Paints
Once your acrylic paint has been mixed, pour it into a mixing container with your desired amount of milk paint. Using the same palette knife or stir stick, mix both ingredients until they are thoroughly combined. If the consistency is too thick, add small amounts of water while stirring until you achieve your desired result.
Step 07: Check the Consistency
Once both paints have been combined, check the texture and consistency of your mixture before applying it to any surfaces. The ideal texture should be slightly dense but not overly thick or runny; if it’s too thin, add additional layers of either paint until it reaches an optimal state.
Be sure to check for any lumps or debris from previous mixing and remove them before continuing with the application process.
Step 08: Apply the Paint
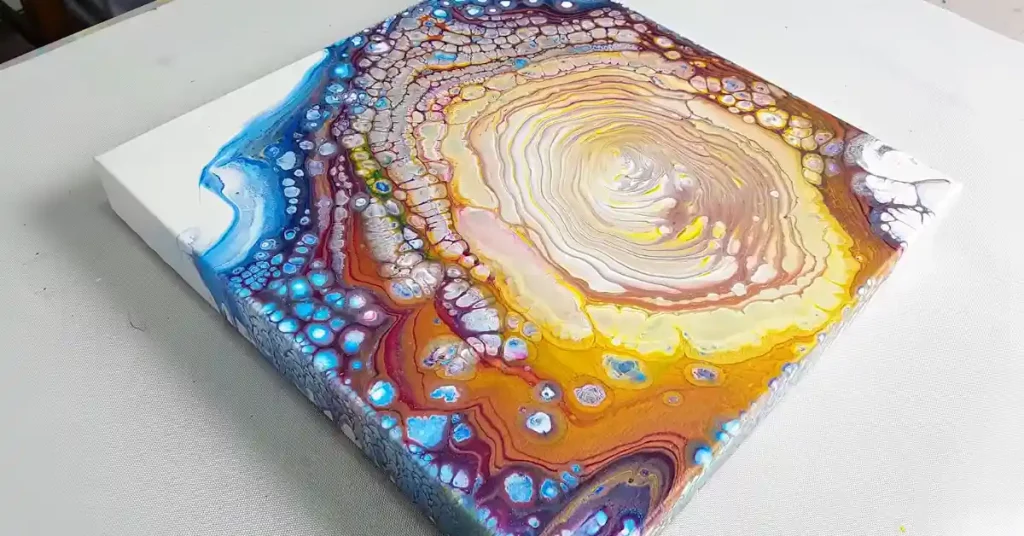
Once you’ve achieved an even consistency in your mixture, use a brush to apply it to whatever surface you would like to use it on, such as wood, canvas, or paper. Apply thin layers first and let them dry completely before adding another layer for increased opacity and color intensity.
When finished, wash all brushes used between applications to preserve their life span and maintain good hygiene practices when working with different paints.
Use Milk Paint and Acrylic Paint to Make Eye-Catching Items
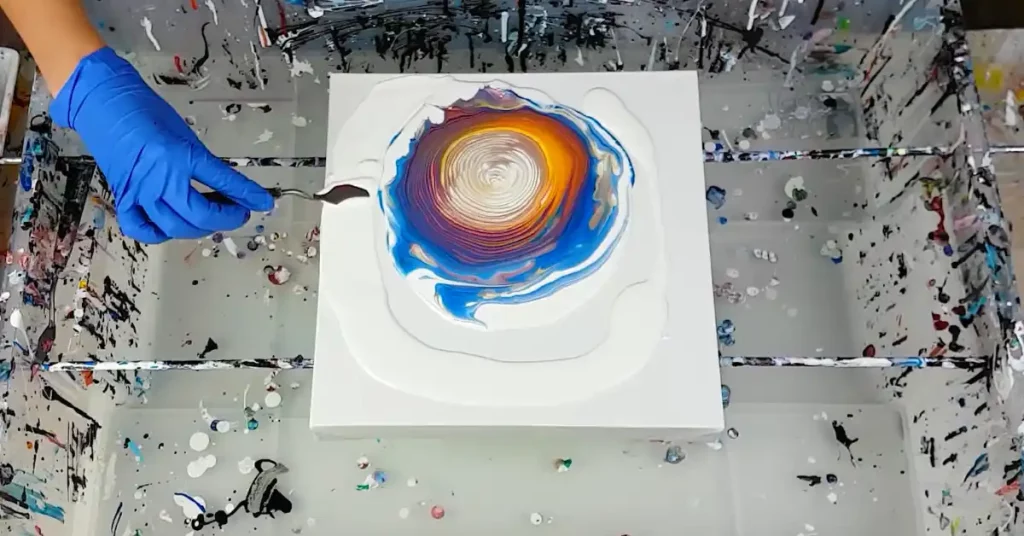
Mixing Milk Paint and Acrylic Paint together is possible and can be a great way to get a stunning one-of-a-kind finish. To ensure beautiful results, you should pay attention to the ratio of each material used and the technique employed in layering them.
Whether you prefer subtle or bold design elements, creating eye-catching furniture pieces with a unique blend of Milk Paint and Acrylic Paint is possible.
Turning your ideas into reality may require some trial and error. But in the end, it’s worth the effort to produce something truly special that will endure for years to come.

S. Pushon is a paint expert, self-taught artist, and currently working as an adviser in the paint industry as a Quality Improvement and Development Assistant.
An artist by heart, he draws remarkable art pieces and as a professional paint industry individual, he seeks the insight and shares with enthusiasts. Read more…
