Tempera paint is a water-soluble, egg-based paint used for centuries in Renaissance paintings. By mixing tempera paints with an acrylic binder, you can create a stronger, longer-lasting paint that’s just as colorful and inviting as the original, albeit with greater protection against environmental conditions, such as temperature and light changes.
The process of making your own acrylic paints from tempera paints isn’t too difficult either; all you need is the right ingredients, mixing tools, and enough patience to get through it. This guide will show you how to make tempera paint into acrylic with just a few simple steps.
You can use tempera paint on wood, ceramic, rocks, paper, and even on your hair. By turning tempera paint into acrylic, you make the more diverse and even more durable than other paints.
How to Make Tempera Paint Into Acrylic: The Detailed Steps
You can use tempera paint on wood, ceramic, rocks, paper, and even on your hair. By turning tempera paint into acrylic, you make the more diverse and even more durable than other paints. It is also possible to make tempera paint permanent. Follow these steps to make tempera into acrylic.
Step 1: Gather Your Materials
Before starting your project, make sure you have all the necessary materials nearby. You’ll need the following:
- A container large enough to hold all your supplies (plastic or metal)
- Tempera paint
- Water
- An emulsion medium such as Elmer’s Glue-All or Golden Acrylic Polymer Medium.
Make sure that whichever product you choose is compatible with tempera paints and is not water-soluble. This will help ensure that your mixture does not separate over time. You may also want to use an acrylic retarder if you want to slow down the drying time of your finished product.
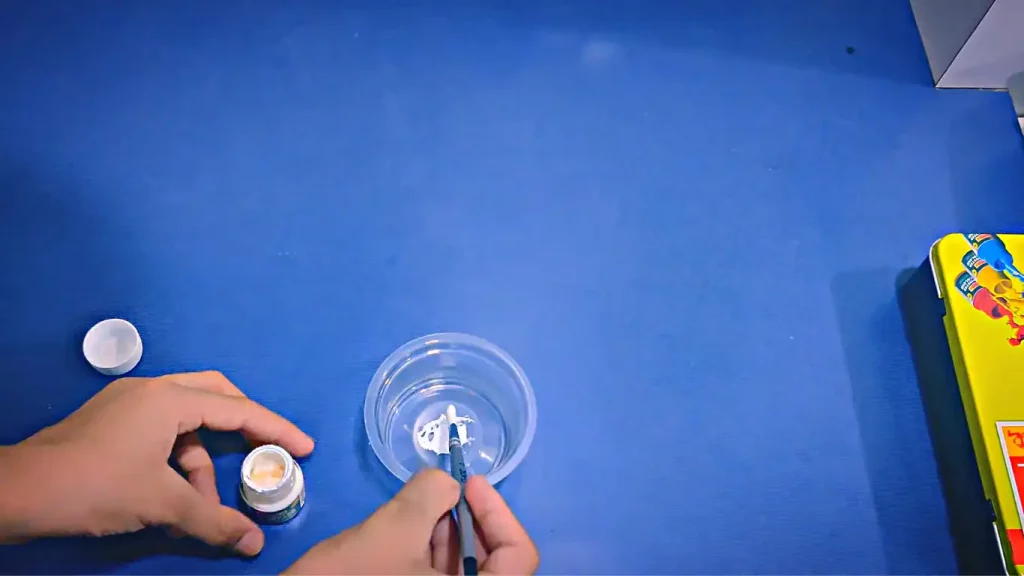
Step 2: Mixing Your Paint and Water
The next step is mixing your tempera paint with water in order to create a paste-like consistency. You want the mixture to be about 50/50, half tempera, half water, so adjust accordingly if necessary.
Start by adding small amounts of water until you achieve the desired texture, it should be thick enough that it clings easily to your brush when applied but not so thick that it won’t spread evenly across the surface when painted on.
Use a stirring stick to mix the two ingredients together until they are fully blended, and there are no lumps or bumps in the mixture. Keep in mind that too much water can lead to an uneven, patchy appearance once the paint dries, so experiment with different ratios until you find something that works best for you.
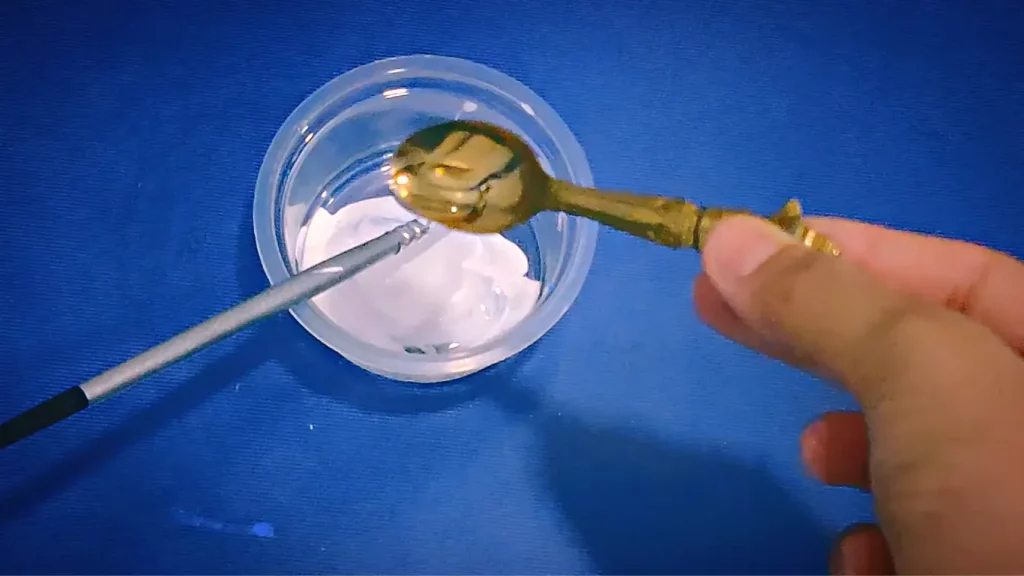
Step 3: Adding Emulsion Medium
Once you’ve achieved a paste-like consistency with your tempera paint and water mix, add in an equal amount of emulsion medium or acrylic polymer medium (whichever one you choose). Stir everything together until the mixture is even; it should be creamy and easy to apply without running off surfaces when painted on them.
If needed, adjust the ratio slightly by adding more emulsion medium until you reach a workable consistency. The acrylic media helps give the resulting paint more texture and permanence than it would have without it.

Step 4: Add Color
Now that everything is mixed together evenly, you can begin adding color to your new acrylic medium. Squeeze out small amounts of additional tempera paints onto your palette or other surface and slowly add them to the mixture until you reach your desired shade or hue of color. Mix thoroughly between each addition so as not to create any inconsistencies in the overall coloration of the medium.
Tempera paint offers a matt finish. However, you can also make the paint shiny using mod podge.
Step 5: Test It
Test out your newly created medium on a scrap piece of paper or canvas before using it on your final workpiece. This step is especially important if you plan on exhibiting or selling any pieces made with this new medium since you never quite know how it will react until you test it out first-hand.
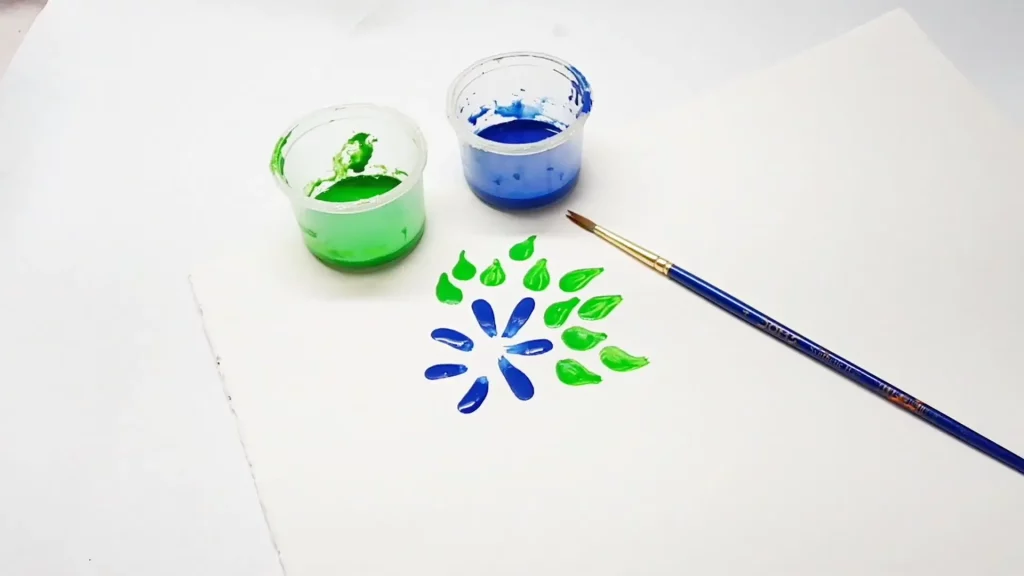
Step 6: Applying Your Paint
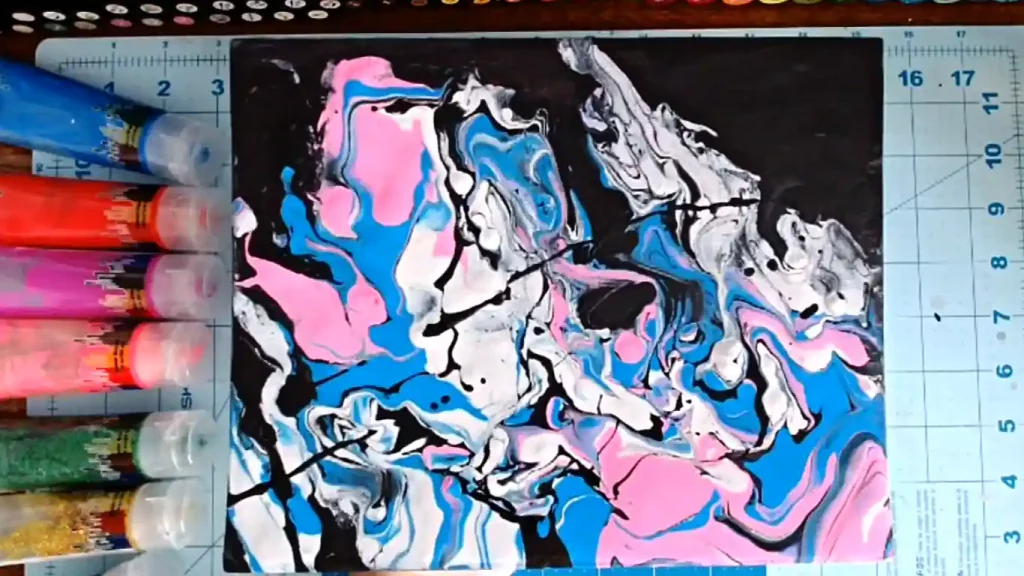
Now comes the fun part, applying your newly mixed Tempera/Acrylic paint onto any surface. As long as it is prepped properly beforehand, this mixture can be used on canvas, wood, cardboard, and more. Use brushes or other tools as needed; just remember that this mixture will dry quickly, so work fast.
Depending on how much water was added during the mixing stage, drying time may range from three hours up to twelve hours depending on climate conditions like humidity level and temperature. Once dry, enjoy your beautiful creations.
Tips and Tricks:
- If you want your acrylic paint to have a glossy finish, try adding a bit of dish soap to the mixture before you start painting.
- For acrylic paint with a metallic finish, try adding some aluminum foil beforehand. Crumpled aluminum foil will work best.
- Use a higher-quality tempera paint for better results.
- If you are using an acrylic binder, make sure to mix it thoroughly with the tempera paint before use.
- If you intend to use an acrylic medium, start by mixing it with the tempera paint at a ratio of 1:1 before adjusting as needed.
- If you are thinning the tempera paint with water, make sure to add enough water so that the consistency is similar to that of regular acrylic paint.
- Add more pigment to the mixture if you want the resulting color to be more concentrated.
- You can also add food coloring to the mixture to get your paint to be a different color. Just add a few drops of food coloring and stir until the desired color is achieved.
Why Would You Need to Make Tempera Paint Into Acrylic?
There are several reasons why you might want or require converting tempera paint into acrylic. The most common reason is durability; acrylics are much more resistant to fading and damage than tempera paints.
Also, if you’re creating a piece that will be displayed outdoors or in an area of high humidity, acrylics are much better suited for the job than tempera paints. Furthermore, making tempera paint into acrylic can also help prevent smudging and other damage that can occur with improper drying methods.
Can You Use Tempera Paint Like Acrylic?
While both tempera paint and acrylic paint are used for painting on canvas, there are subtle and significant differences between them. Acrylic paint is thicker and provides a more opaque result than tempera.
Tempera produces a matte finish that absorbs water faster than acrylics and can easily be mixed with other media like charcoal or ink. When using it, keep in mind that it may flake off if the surface is not properly prepared first. Furthermore, the dry time for tempera is significantly faster than acrylics, so if you are using it in combination with other materials, make sure to plan your project accordingly.
In short, while tempera may have its advantages over acrylic, keep in mind that there are some practical considerations as well before deciding which type of paint to use for your project.
Can You Add Cornstarch to Tempera Paint to Make it Thick?
Tempera paint is traditionally an inexpensive, fast-drying, water-based paint. Unfortunately, it often lacks the body and consistency that some artists look for in their paints. Cornstarch to tempera paint can give it a thicker texture and longer drying time.
This makes tempera paint more suitable for techniques such as glazing and painting fine details that require slower drying times. You should try starting with a small amount of cornstarch and slowly increasing the amount to achieve the desired texture.
The effects of adding cornstarch to tempera paint will vary by manufacturer, so the best way to find out what works best is by experimenting. In general, an ideal ratio is one part corn starch to four parts tempera paint, but this may need to be adjusted according to personal preference or requirement.
Conclusion:
If you’re looking for an easy way to turn tempera paint into a more permanent form with added texture and permanence, this guide has shown you exactly how. With the steps mentioned in the article, transforming traditional egg-based paints into durable acrylics has never been easier, no matter what kind of art project you’re working on next.
Transforming tempera paints into acrylic takes some trial and error but can result in beautiful creations if done correctly. Try experimenting with different ratios of Tempera Paint/Water/Emulsion Medium until finding one that works best for each individual project type. happy painting.

S. Pushon is a paint expert, self-taught artist, and currently working as an adviser in the paint industry as a Quality Improvement and Development Assistant.
An artist by heart, he draws remarkable art pieces and as a professional paint industry individual, he seeks the insight and shares with enthusiasts. Read more…
