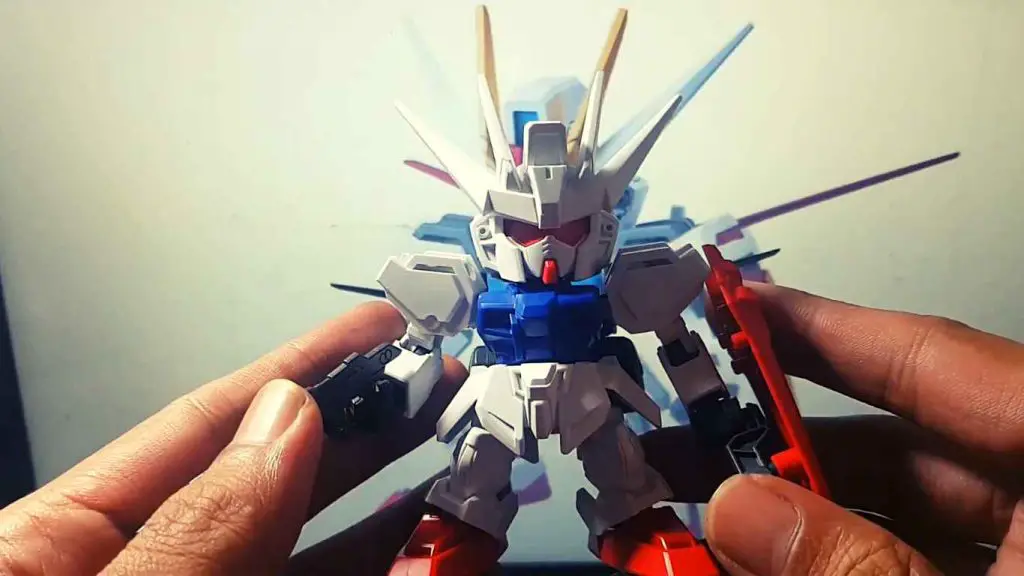
Gundam has been around since 1979, but it wasn’t until Bandai released its very first plastic model kit in 1980 that the show really took off. Since then, Gundam has become one of Japan’s most well-known brands. The anime series was also adapted into manga, video games, movies, collectibles, toys, and even clothing.
Gundam fans have come together to create some amazing art pieces over the years. Can I use acrylic paint on Gundam models? Find out how to safely rework your favorite robot designs.

What Is Acrylic Paints?
Acrylic is one of the oldest paint types used today. It is still widely used because of its ease of application and drying times.
The name “acrylic” refers to the fact that it is composed primarily of polymers of acrylic acid. This polymerization process creates a hardening resin which makes the paint durable.
Acrylics come in many different colors and finishes, including matte acrylic, gloss, metallic, flat finish, and clear coat. Glossy paints allow light to reflect off the surface, while the flat finish does not. Metallic paints are usually black or silver in Color. Clear coats add shine to the final product.
Can I Use Acrylic Paint On Gundam?
Yes, You can use acrylic paint for Gundam model kits. Acrylic paints are water-based and non-toxic. This type of paint is made from acrylic resin with pigments added. It dries much faster than watercolors and can be used for all sorts of fine art projects!
As a Gundam fan, you may love making Gundam kits. After making a few model kits, you will feel the urge in you to paint your kits. The best option is to choose Tamiya Acrylic paint to paint your kits because they come in a wide variety of colors.
Gundam model kits are made of high-quality plastic. If you are a crafter, you should know that acrylic paint has difficulty sticking to the plastic surface. So, if you want your acrylic paint to stick better to your Gundam model kits, you need to follow some precautions and make preparations to get a better result with the paint.
How To Paint Gundam Using Acrylic Paints
Painting the Gundam kit is fun. But if you don’t follow the necessary steps, you may ruin your favorite Gunpla. No worries! The following is the whole process of painting your Gundam kits without ruining them.
Choose The Right Brush: It’s better to paint Gunpla with spray paint or an airbrush. But if you are hand-painting the kits, then you need to choose the brushes that can help you paint the kits in detail.

Just because you are painting something small doesn’t mean you need the smallest brush in the world that goes for miniature figures and small parts. Pick some cheap sable brushes. You can do base coats and fine lines with them. Get a size four to seven brush and make sure it has a sharp point which is perfect for painting details and doing freehand logos.
Start With Basic Priming: The only thing that you need to use to make the paint stick better is applying a proper primer. You can use chaos black spray from Citadel for priming the surface; apply a coat of primer. Citadel primers are quite thick, and one coat is enough to avoid clogging the details.
Note: Work in a ventilated area and wear a mask while you are spraying cans.
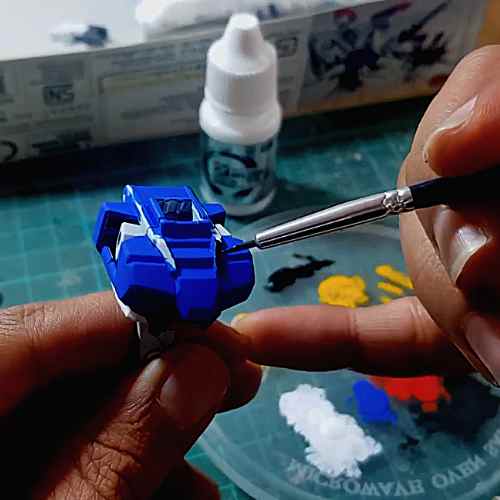
Basecoat the Model: Now, take a wet pallet and your water-based acrylic paints to basecoat the models. First, give the paint pot a good stir, or you can use a paint mixer to stir the paint thoroughly. Take a big brush and grab some paint from the pot. Put them on the wet pallet, mix a bit of water into the paint to thin it down, and take off excess onto the Pallett. And start painting.
Apply the Color of your choice: After the first coat, allow the paint to dry. Apply second layer after the first coat dries completely. It will help the paint to achieve nicer coverage. Be sure to fill in all of the crevices and corners. Normally two thin layers are enough to complete the painting, but I love adding another layer, and I allow the second coat to dry before applying the third coat.

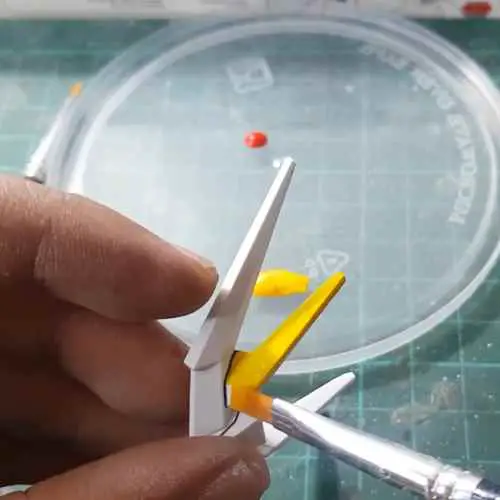
Add Metallic Layers: After you complete painting one part, apply metallic layers of gold, silver, and bronze. I used a light yellow color mixed with a little bit of red for the golden highlights. Again, let the area dry after applying a coat before applying another.
Finish Painting the Details: Use a black fine-point brush to add some details like antennae. Let the paint dry when you are done. After a few coats, the paint will get you a nicer finish. After completing the painting, look for any mistakes if you find one make sure to tidy it up.
Seal the Surface: Apply a clear gloss finish using a small foam roller.
Glaze the Model: Glazing gives a glossy shine to the model. After glazing, let the model sit for 5 minutes and then wipe away excess product.
Finalize the Model: After you use all the colors you want and when you feel necessary, finalize the model. Have a look at the model, and see any color that looks unwanted. If you follow the steps, you will get a better result with your Gundam model kits.
The Bottom Line
Whenever you hand paint the Gundam model, be very patient. And let the paint dry thoroughly before applying another layer to get nice coverage. Don’t forget to thin down your paint with water to avoid any brush marks. If you follow these steps, you will get the desired results with your Gundam Kits.

S. Pushon is a paint expert, self-taught artist, and currently working as an adviser in the paint industry as a Quality Improvement and Development Assistant.
An artist by heart, he draws remarkable art pieces and as a professional paint industry individual, he seeks the insight and shares with enthusiasts. Read more…

